Learn to Play Jason Hook’s Guitar Solo from 'Hired Gun' [TAB]
![Learn to Play Jason Hook’s Guitar Solo from 'Hired Gun' [TAB]](https://www.jeffperrinmusic.com/blog/images/2018/08/jason-hook-tab.png)
Guitar tab and lesson shows you how to play Jason Hook’s blistering guitar solo, showcased during his on-screen interview for the rock music documentary Hired Gun.
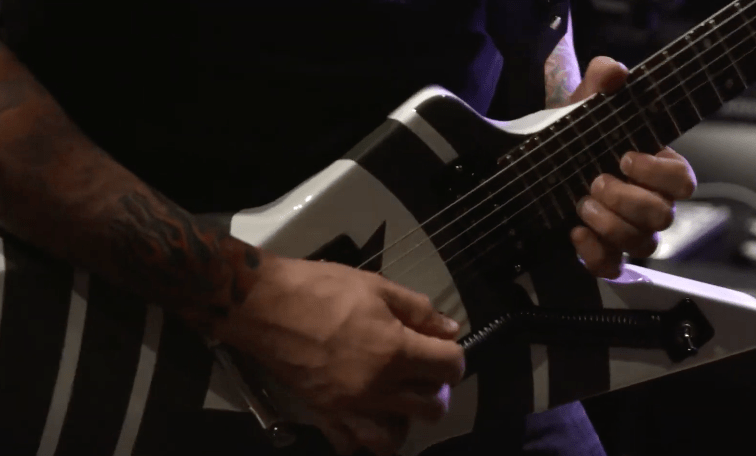
Released in 2017, Hired Gun is a rock music documentary focusing on session and touring musicians from famous bands and artists such as Metallica, KISS, Nine Inch Nails and others. While the majority of the film concentrates on capturing the stories and accountings from a handful of venerable session players in the industry, one of the memorable highlights which stood out to me as a guitar player was Five Finger Death Punch guitarist Jason Hook performing a blistering rock guitar solo in the midst of his own personal recording studio. On the anniversary of the Hired Gun theatrical release, I reached out to Hook (who is also the executive producer for the film) to give some insight into his performance and to share a few tips for guitarists looking to learn how to play some of his blistering solo licks and melodies.
Check out Hook’s solo below, then download the PDF here.
[Update: Video link on YouTube no longer available. Hired Gun is currently available for purchase or rent on Amazon Prime.]
Performance notes:
- As Hook ascends the A minor pentatonic scale throughout the first two bars, he frequently applies palm muting to certain notes in order to create powerful, punchy-sounding rhythms. In the transcription, the abbreviation “P.M.” illustrates exactly which notes should receive a palm-mute technique.
- Bars 2-4 largely revolve around a fifth-position, A minor penatonic blues scale. To replicate Hook’s flowing lead lines, pay attention to any arced lines, called slurs, appearing above notes. Slurs indicate wherever Hook performs any hammer-ons or pull-offs.
- If you have any trouble figuring out how to finger a particular note passage, try locating the corresponding part in the YouTube clip and viewing at a slower playback speed.
- Throughout the transcription, diagonal lines indicate where Hook uses a slide technique to move into or between notes. For example, Hook uses ring finger notes slides to create the cool-sounding ascending 5th-interval lick in bars 7 ad 8.
- When performing the massive two-step note bend on in bar 10, Hook adds his middle and index finger in behind the note to help support and reinforce the string bend. The additional digits act as extra finger “muscle.”
- To create the screaming note bend on beat two of bar 11, Hook intentionally catches the second string under his ring finger while performing the bend technique. The dissonance created by playing two notes with different bend intervals, combined with heavy distortion results in a cacophony of harmonic overtones which really makes his note jump out from the speaker!
- At bar 13, Hook engages a digital delay pedal to create a hypnotic-sounding melodic run up and down the first string. He creates this particular lick by syncing his picking in perfect timing to the dotted 16th-note rhythms created by a specific delay timing. While Hook specifically uses a Boss DD5 pedal set to a “dotted-8th” setting, you can recreate the sound with your own pedal or multi-effect device by following the text notes below the tablature in the transcription. (You can also hear Hook employ a similar delay effect in 5FDP’s cover of “House of the Rising Sun.”)
- The solo concludes with a dramatic “stutter effect” applied to a pick scrape and subsequent note slide. Hook says; “The stutter effect was created using the old blue line6 Mod pedal set to OPTO TREMOLO and the ‘Tweak’ and ‘Tweeze’ cranked up to the extreme setting.”
Download the PDF to view or print the full transcription.
Visit https://www.imdb.com/title/tt4026034/ to learn where you can watch the documentary in it’s entirety.
Surround Sound not working on your Apple TV 4 or Apple TV 4k? Here's how to fix!
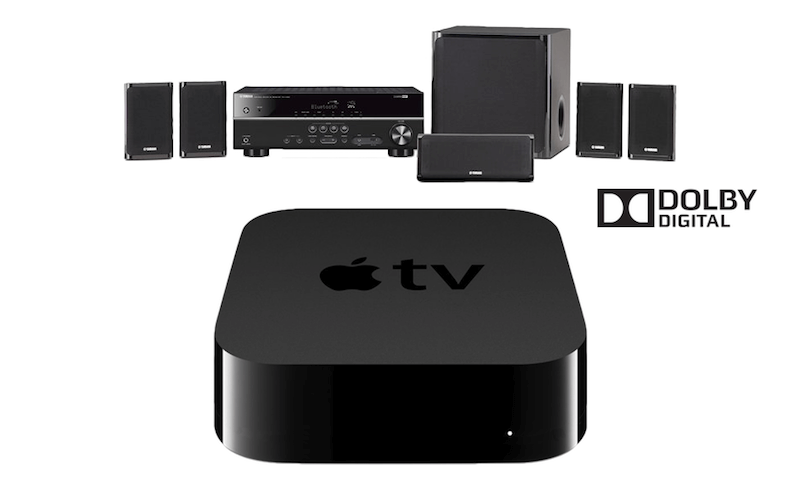
There may be several reasons for surround sound not working on your Apple TV 4 or Apple TV 4K, ranging from improper audio settings, to faulty cables, to even software bugs. Follow this short checklist to find out where your problem might lie, and how to get your Apple TV surround sound back up and working again!
Before gettings started, make sure you are testing your system with *actual* Dolby Digital surround sound audio during each step. While you can certainly use an iTunes movie containing Dolby Digital surround sound, you’ll spend a lot of extra time searching for and rewinding to any obvious surround sound “moments.” A better solution is to download a speaker utility such as the free Surround Speaker Check app, specifically designed for troubleshooting surround sound audio on the Apple TV.
Recommended: Surround Speaker Check [Free]
Step 1: Check Apple TV Surround Sound Settings
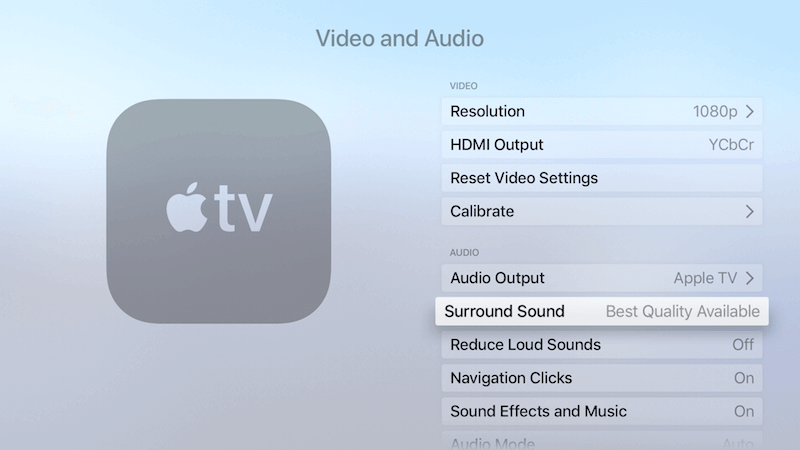
The first thing you should do when your surround sound fails is check the “Surround Sound” settings in the tvOS Settings app. Open the Apple TV “Settings” app, go to “Video and Audio” and then look for the “Surround Sound” pop-up menu. By default, you should select the “Best Quality Available” option. If you have an older receiver, you might want to try the “Dolby Digital” setting to see if this fixes your problem.
Step 2: Make sure your receiver or sound bar is on the correct audio setting.
As most AV receivers and their accompanying remote controls contain a large number of buttons and audio setting options, it can be confusing as to which one you need to get basic surround sound compatibility with your Apple TV. As such, your AV unit user manual is most definitely the best source of info for learning which setting enables surround sound. Manual aside, try looking for an “Auto”, “Straight”, or “Direct” setting, as either of these modes should provide straight-forward audio processing of the Dolby Digital signal.
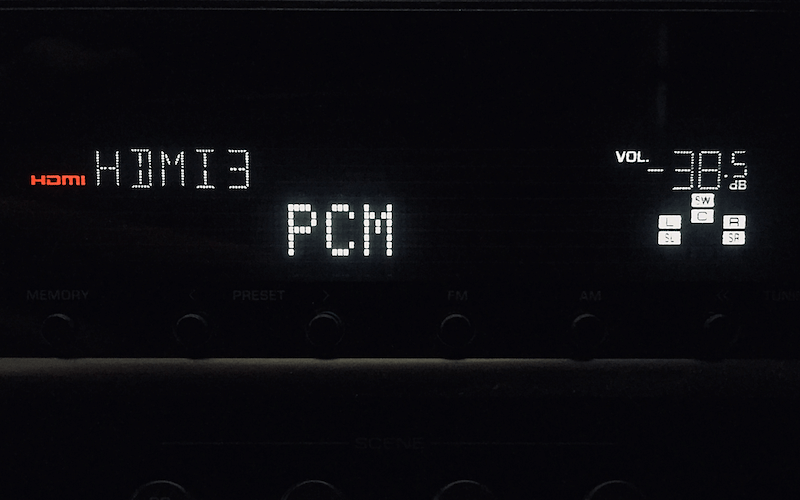
(Note how the display reads "PCM" rather than the expected "Dolby Digital").
About Apple TV’s “Best Quality Available” setting.
With “Best Quality Available” selected in the Apple TV Surround Sound audio settings, be aware your receiver may not display the text “Dolby Digital” on the front like it might when hooked up to a Blu-Ray player or game console, or even an older model Apple TV 2 or 3 (see image above). This is perfectly normal, and is because the Apple TV models 4 and 4K decode the Dolby Digital signal on board the Apple TV itself and then sends raw PCM format audio downstream to the receiver. With the Apple TV audio settings on “Dolby Digital” option, the Apple TV decodes the Dolby signal on board, and then re-encodes the signal to Dolby Digital AC3 audio for compatibility with older receiver models. In this case, the receiver will indeed say “Dolby Digital.” However, due to the re-encoding process to the lower-quality AC3 format audio (as opposed to Dolby Digital Plus E-AC3 format), it is recommended you choose the “Best Quality Available” setting mentioned in Step 1.
Step 3: Check your physical cable and speaker wire connections.
This includes all connected HDMI cables as well as speaker cables. Over time, incidental contact with AV components as well as general household vibrations (including those induced by rowdy pets or kids!) can potentially cause a shift in connected items. Cables which look fine on the surface might actually be only half inserted into their sockets or connectors, wreaking intermittent havoc on your home theater setup. So you write up your problem to faulty hardware or software, go through and make sure all connections are good and snug. (This is also probably a good time to dust off the top of your AV components as well to prevent issues from heat buildup!) If you’re still experiencing problems, another good troubleshooting step is to swap out HDMI cables to see if a bad cable is causing trouble.
Finally, once everything looks and sounds correct, use a dedicated home theater test app such as the above mentioned Surround Speaker Check to confirm the your speaker wiring. Perhaps the most common wiring issue with most home theater systems is that the left and right rear speakers are often wired backwards, a problem not easily detected with an iTunes or Netflix movie alone!
Step 4: Confirm your content is actually sending surround sound audio.
Sometimes, the reason your surround sound isn’t working is actually due to a bug in a media app, rather than your Apple TV setup. If you rely on streaming apps such as Netflix, Hulu, or Amazon Prime to play home theater content containing surround sound audio, you can try ruling out that software issues by simply attempting to play surround content on the various apps. If surround works on one source, such as an iTunes movies or the Surround Speaker Check app, but does not work with another, such as on Netflix or Amazon Prime, then the problem is likely due to a software bug within the affected app. If this is the case, make sure you have the latest updates for tvOS and your streaming media apps. Software-related bugs can often be temporally remedied by re-launching the app, or by re-booting the Apple TV. Though sometimes, all you can do is submit feedback to the developer and sit tight until they can fix it in the next app update. (Which, fortunately, is usually the case.)
Yet another reason why it may seem that surround sound isn't working on your Apple TV is because not all movies or TV shows take full advantage of surround sound audio. It’s entirely possible (and actually fairly common) for a title to implement and advertise Dolby Digital 5.1 surround sound, yet have little to no audio routed to the rear speaker channels. As such, you should conduct your surround system testing and troubleshooting steps using content produced to take full advantage of Dolby Digital surround sound capabilities.

Hopefully, the troubleshooting steps above will work to help solve your Apple TV surround sound problem, and you’ll soon be back to enjoying the awesome Dolby Digital surround sound in your favorite movies and TV shows!
Surround Speaker Check is available as a free download in the iOS and tvOS App Stores.
Using "Subwoofer Check Track" with Apple TV to Optimize Your Home Theater Bass
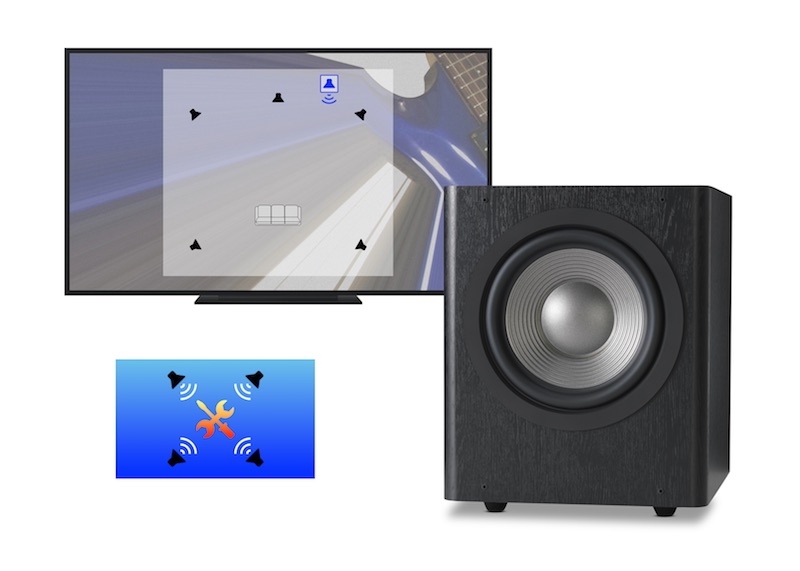
One of the most important components to a great-sounding home theater system is a subwoofer capable of reproducing the low-end rumbles, thumps, and blasts which highlight the drama and excitement of your favorite movies and TV shows. To get the most enjoyment out of your home theater audio, you should make sure your subwoofer is working and that your system is properly managing the bass frequencies for all your audio content, be it from music soundtracks or hollywood special effects.
In this article, we review four essential tests the Subwoofer Check Track in-app purchase for Apple TV will help you perform when setting up and optimizing the bass for your home theater audio system.
What’s involved:
Apple TV
Dolby Digital-capable audio system with subwoofer (2.1 or 5.1 speaker setup)
Surround Speaker Check app (iOS or tvOS)
“Subwoofer Check Track” (available via in-app purchase in either app)
Test 1: Is your subwoofer correctly wired and powered on?
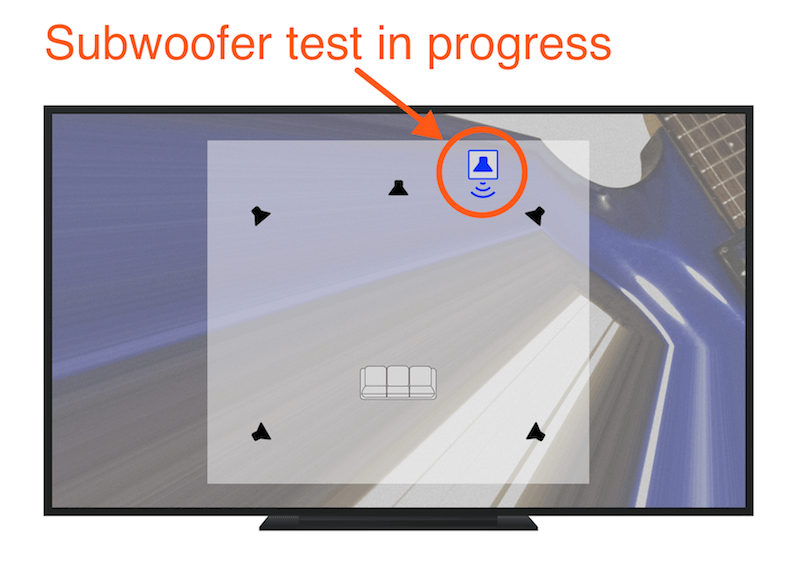
This may seem obvious, but you’d be surprised at how many people don’t realize their subwoofer is not even working properly. This may be due to the fact that low frequencies are not always prevalent in movies and TV shows, with the majority of dialogue and music residing in upper and mid-range frequencies. The free *Speaker Check 5.1* track (available in either app listed above) will help verify your subwoofer is connected and working by isolating the subwoofer via the Dolby Digital LFE (Low Frequency Effect) channel. At 0:55 in the Speaker Check 5.1 track, the subwoofer icon in the upper right-hand of the video screen will illuminate (see image below), signaling that you should only be hearing audio from the subwoofer. If you hear silence during this portion of the check, make sure your subwoofer is properly connected and powered on. You may also need to verify your system is properly decoding the Dolby Digital soundtrack, as discussed in steps 3 and 4 in Guide to Connecting Your Apple TV to Surround Sound Speakers.
Test 2: Is your crossover set up and working properly?
A crossover circuit works to split the audio signal into two frequency ranges, sending the low frequencies to the subwoofer and mid and high-range frequencies to the main speakers. The Subwoofer Check Track includes two tests designed specifically to help you evaluate crossover functionality: the Low Pass Filter test and the High Pass Filter test.
Low Pass Filter test: With this test, a full-range drum and bass loop helps determine if low frequencies are being properly filtered to the subwoofer. If your system is set-up properly, you should hear a noticeable change of sound when the on-screen display alternates between “all speakers on” and “subwoofer-only”. With just the subwoofer icon illuminated blue, you should only be hearing the thump of the kick drum and bass guitar. (The music should sound muffled, almost like there’s a pillow over the speaker.)
High Pass Filter test: Here, a multi-guitar melody arrangement deliberately lacking low-frequency content is used to test the AV receiver’s ability to prevent high-end frequencies from reaching the subwoofer. In this case, you should hear virtual silence when the subwoofer icon activates.
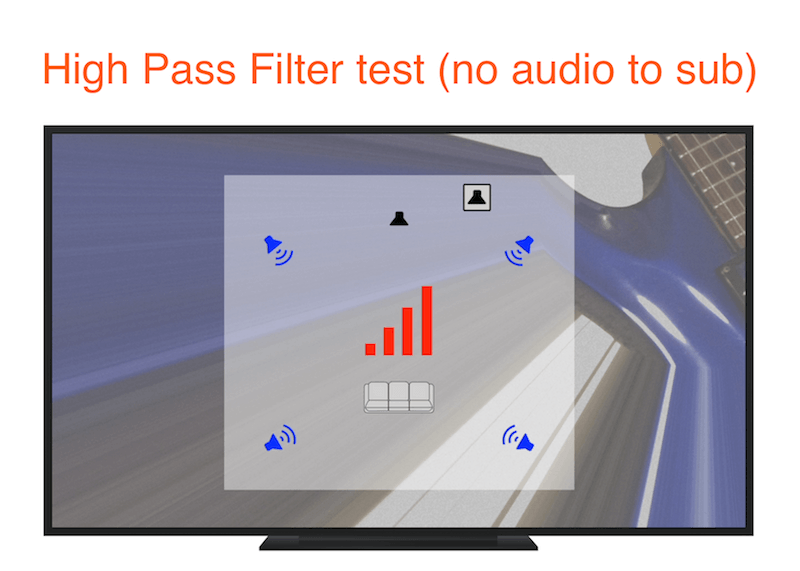
If either of the Low or High Pass Filter tests above reveal that your crossover is not working properly, the best course of action would be go back and review the subwoofer and “bass management” sections in the user manual for your AV receiver.
Test 3: Check your subwoofer’s volume level!
In general, setting the level for your subwoofer comes down to a matter of taste. Some people use their subwoofer as a subtle enhancement for their main speakers, while other home theater enthusiasts want to literally feel the impact of sub-sonic frequencies hitting them in the chest! Whatever your preference, the Low Pass Filter test can also be a great way to check and set your subwoofer volume as it allows you to compare the original audio signal with what the subwoofer is actually playing back.
IMPORTANT! It should go without saying that every speaker has it limits. Pushing your speaker beyond it’s capabilities can damage or destroy the speaker altogether!
Test 4: Can your subwoofer cleanly reproduce low frequencies?
The Continuous Frequency Sweep test and the Stepped Frequency test both utilize a pure sine wave to create a virtual “hearing test” for the subwoofer to help you evaluate it’s effective frequency response.
Continuous Frequency Sweep test:
When playing through the Continuous Frequency Sweep test, the tone should sound smooth and steady as it descends in pitch throughout the test. Keep a close ear out for any distortion or static, as these unwanted sounds may reveal a damaged or malfunctioning speaker. However, if you do encounter distortion, first simply try backing off the volume to make sure you’re not just driving the speaker beyond it’s capabilities!
Stepped Frequency test:
The Stepped Frequency test provides another perspective on your subwoofer performance by allowing your system to audition pure sine wave tones at incremental 10 Hz intervals, ranging from 120 Hz down to 30 Hz. While the test can help reveal any defects or irregularities in your home theater subwoofer (and perhaps even an errant crossover setting), I’ve also found it helpful to track down pesky rattles or other odd noises in the listening space resulting from objects vibrating in resonance with certain low frequency sounds.
IMPORTANT! Note that not all speaker systems may be able to reproduce the lowest test tones (30-40Hz). So to reiterate the warning displayed in the app: Do not turn up your volume while listening to any inaudible low frequency sounds, as you may damage your speaker and/or AV receiver! Always set the maximum listening level for these tests using the free “Speaker Check 5.1” track.
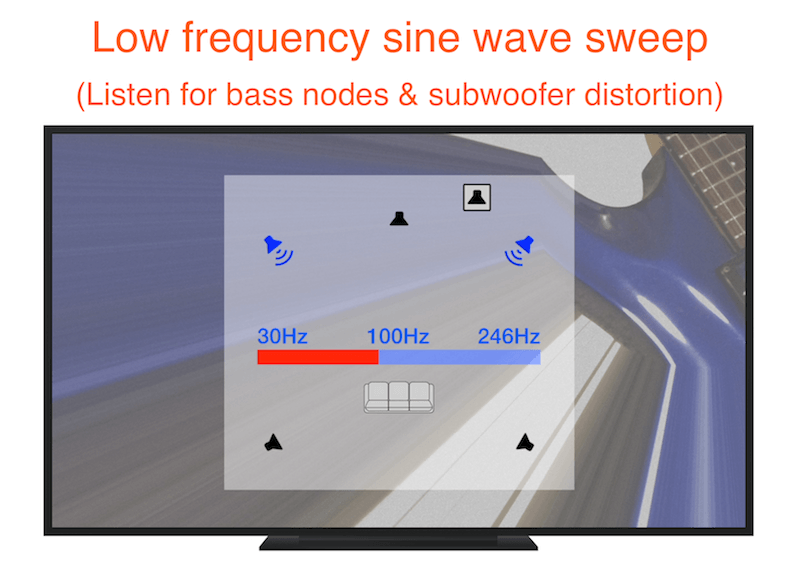
If any of the above tests indicate your subwoofer is not working properly, you should review and confirm with your AV receiver manual on how to properly activate and set-up your home theater subwoofer.
Surround Speaker Check is available as a free download in the iOS and tvOS App Stores.
Subwoofer Check Track is available as a $0.99 in-app purchase.
Tube Amp Vs Modeling Software Shootout Part 2: Peavey 5150/6505
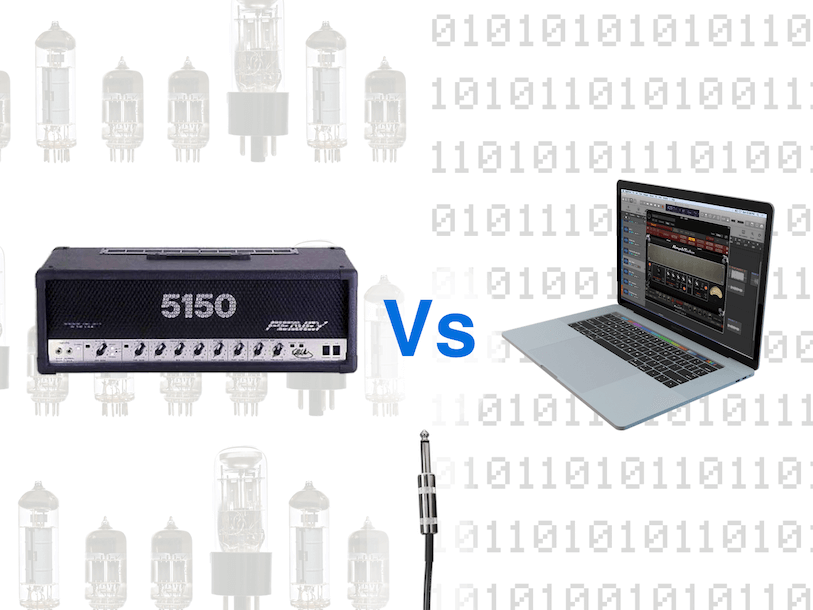
In part 2 of my amp vs modeling shootout, we put the high gain capabilities of several amp modeling software products to the test by pitting them against a venerable hard rock and metal favorite, the Peavey 5150/6505 tube amp.
High gain amps like the 5150/6505 typically rely on the preamp stage to generate a heavier-sounding, more harmonically charged distortion.
In my previous round of listening tests (see Tube Amp Vs Modeling Software, Part 1), we primarily focused on the sound of a Fender Deluxe Reverb’s power stage being pushed into overdrive. However, while power tube breakup is great for creating tones suitable for a variety of styles such as blues (e.g. Stevie Ray Vaughan) and classic rock (e.g. AC/DC), hard rock and metal guitarists typical favor a more aggressive form of overdrive, often referred to as “high gain distortion”. High gain-capable amps like the 5150/6505 typically rely on the preamp stage to generate a heavier-sounding, more harmonically charged distortion sound associated with hard rock and metal styles of music (e.g. Metallica or In Flames). As such, this test compares several software models’ ability to emulate the preamp stage distortion of the mighty 5150 tube amp.
Peavey 5150/6505
For high gain duties, I often call on my revered Peavey 5150 amp, the first generation of a line of powerhouse signature amps co-designed by guitar legend Eddie Van Halen himself. Back in the 1990’s, the 5150 set a new standard among high gain guitar amps, and were soon adopted by a multitude of hard rock and metal players alike. While Van Halen and his trademark 5150 brand have long since parted ways with Peavey, the amp continues on as the Peavey 6505, a model still very popular with rock and metal players to this day. For these listening tests, the 5150 powers a closed-back 4x12 cabinet loaded with G12M-style speakers, Van Halen’s favorite speaker model for any of his signature amps. The microphone is a Sennheiser MD-421 positioned on the outer edge of the center speaker cone, just 1” off the cab grill.
Reminder: For best results, be sure to listen to the files on a decent pair of headphones or external speakers.
Peavey 5150/6505 - Heavy Riff |
|---|
Real Amp |
Native Instruments Guitar Rig |
IK Multimedia Amplitude |
Peavey Revalver |
Peavey 5150/6505 - Lead Lick |
|---|
Real Amp |
Native Instruments Guitar Rig |
IK Multimedia Amplitude |
Peavey Revalver |
All product names used in parts 1 or 2 of this article are trademarks of their respective owners, which are in no way associated or affiliated with this website.
Fender, Deluxe Reverb, are registered trademarks of Fender Musical Instruments Corporation.
Peavey, 6505, are registered trademarks of Peavey Electronics.
5150 is a trademark of ELVH Inc.
Tube Amp Vs Modeling Software Shootout Part 1: Fender Deluxe Reverb
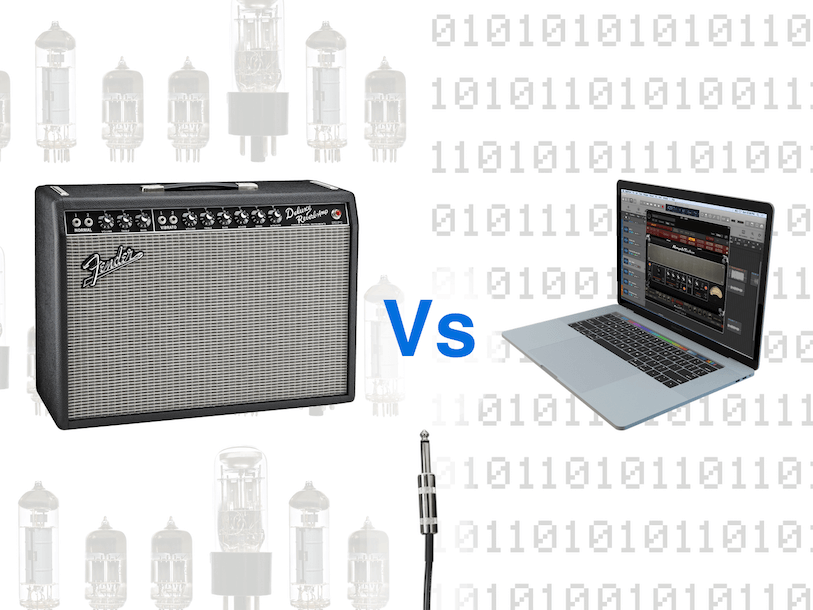
In this amp vs modeling shootout, we compare several popular amp modeling software products against a real Fender Deluxe Reverb and a Peavey 5150/6505 tube amp.
Has amp modeling finally come of age? Or does software just provide a “close-enough” approximation?
While recently gearing up to record a new batch of songs, I thought about all the prep work I’d soon be involved with before I could even hit the “record” button. Dialing in amp tones, setting up and testing microphones, and routing cables all takes precious time away from actually playing the guitar. (Did I mention all the cables!?!) Although there is a certain amount of fun in playing with studio gadgetry, I found myself wondering if it might be worthwhile to take a second look at the possibility of recording with one of the many software amp modeling options available. After all, there’s no denying the plug-and-play convenience software modeling offers in terms of streamlining the recording process. Very few cables to run. No excessive amp volume to disturb family or housemates. Easy recall of amp settings. But what’s the tradeoff? Is amp modeling truly ready for prime time? Or does software provide just a “close-enough” approximation? To answer my own questions, I decided to put together a comprehensive listening test where I could directly compare a real tube amplifier against the latest guitar amp modeling software.
The test
Perhaps one of the most elusive characteristics of tube amp modeling is capturing the effect of the power tube stage being driven into overdrive. The 22 watt Fender Deluxe Reverb is easily overdriven, thus making the amp a great test subject for comparing how accurately modeling software can emulate the rich, creamy sound of power tube distortion.
The Fender Deluxe Reverb “dirty” and “overdrive” tests heavily focus on the sound of an overdriven power tube stage.
Since tube amps react differently depending on how hard you pick or strum, it’s imperative that any test compares the exact same performance. So to provide a fair and accurate testing ground, I’ve employed a professional audio switcher to simultaneously split the guitar signal to both the real amplifier’s input jack and the computer’s DAW interface. No guitar pedals were inserted in either signal path, and absolutely no eq, compression or other effects have been applied to the recording. This way, the only differing variable between each take is the amp modeling software itself!
The amp modeling software
The shootout involves the latest version of several popular software amp products and their respective models for the Fender Deluxe Reverb (be it an official licensed model or otherwise). Every attempt was made to duplicate the actual amp settings. However, in instances of dramatic difference in tone and volume, minor adjustments were made in an attempt bring the sound of the emulation closer to that of the real amp. Largely though, what you hear is what you get: raw guitar signal and a pure amp tone without the aid of any production editing or effects.
So without further ado, on to the Tube Amp vs Modeling Software Shootout!
Fender Deluxe Reverb
The majority of the tests here focus on the 22 watt Fender Deluxe Reverb amp. It’s relatively compact combo design and versatility among different musical genres have made the Fender Deluxe Reverb one of the most recorded, if not popular tube amps on the face of the earth. This particular unit was a reissue model purchased circa 2010, and has received no modifications over the course of it’s life. The amp is biased conservatively, and the speaker was mic’ed with a Shure SM57, positioned within 1” of the grill and on center of the speaker cone.
Tip: On review, I’ve found some of the takes can sound pretty similar when played back through tiny laptop or phone speakers. So for best results, be sure to listen to the files on a decent pair of headphones or external speakers!
Fender Deluxe Reverb - Clean (Vol. on 3) |
|---|
Real Amp |
Native Instruments Guitar Rig |
IK Multimedia Amplitude |
Peavey Revalver |
Fender Deluxe Reverb - Dirty (Vol. on 4) |
|---|
Real Amp |
Native Instruments Guitar Rig |
IK Multimedia Amplitude |
Peavey Revalver |
Fender Deluxe Reverb - Overdriven (Vol. on 10) |
|---|
Real Amp |
Native Instruments Guitar Rig |
IK Multimedia Amplitude |
Peavey Revalver |
For the next series of listening tests, we’ll fire up the Peavey 5150/6505 amp to find out how accurate software modeling is when emulating preamp tube distortion, commonly employed in high-gain amps prevalent to rock and metal genres. You can check out part 2 of the shootout at: Tube Amp Vs Modeling Software Shootout Part 2.